Grilling with Charcoal: The Ultimate Guide
Grilling with Charcoal: The Ultimate Guide to Smoky Flavor and Perfect Sears
There’s something magical about grilling with charcoal that gas grills simply can’t replicate—that authentic, smoky flavor that transforms ordinary ingredients into backyard masterpieces. Yet for many aspiring grill masters, the thought of managing live fire can feel intimidating. We’ve all been there: the panic of serving gray, rubbery chicken instead of a juicy, char-kissed masterpiece, or watching helplessly as expensive steaks burn on the outside while remaining raw on the inside.
The truth is, mastering grilling with charcoal isn’t about luck or innate talent—it’s about understanding a few fundamental principles that will transform your confidence and results. This comprehensive guide will walk you through every essential step, from choosing the right fuel to mastering temperature control, ensuring that grilling with charcoal becomes your new favorite skill rather than a source of anxiety. For those ready to take their skills to the next level, explore our guide on mastering charcoal grill techniques for advanced methods and professional-level results.
Why Trust This Guide?
We’ve spent hundreds of hours testing grills, fuels, and techniques—from scorching summer days to chilly fall evenings. This guide isn’t just theory; it’s the distilled wisdom from countless cooks, smoky mishaps, and triumphant feasts, all designed to get you grilling with charcoal perfectly, faster. Every technique has been tested in real backyard conditions, and every tip comes from actual experience managing live fire.
The Fuel for the Fire: Lump Charcoal vs. Briquettes for Grilling
Your charcoal choice fundamentally impacts every aspect of your cooking experience. Understanding the differences between lump charcoal and briquettes for grilling will help you make the right choice for your specific needs and skill level.
| Feature | Lump Charcoal | Briquettes | The Verdict |
|---|---|---|---|
| Heat Level | Burns hotter (800-900°F) | Burns cooler (650-750°F) | Lump for searing, briquettes for control |
| Burn Time | Burns faster (45-60 minutes) | Burns longer (60-90 minutes) | Briquettes for longer cooks |
| Ash Production | Very little ash | More ash due to binders | Lump for less cleanup |
| Additives | 100% natural wood | Contains binding agents | Lump for purest flavor |
| Best For | High-heat searing, steaks | Consistent temp, beginners | Choose based on your cooking style |
Our Recommendation for Beginners: Start with quality briquettes for their predictability and consistent temperature. Once you’ve mastered basic temperature control, experiment with lump charcoal for high-heat applications like searing steaks or cooking pizza. For detailed reviews and recommendations, check out our comprehensive charcoal buying guide which covers the top brands and their specific strengths.
Lighting Your Fire: How to Light Charcoal (With and Without a Chimney)
The Gold Standard: Chimney Starter Method
A chimney starter is the most reliable method for lighting charcoal, producing evenly heated coals without chemical flavors. Here’s the step-by-step process:
- Fill the chimney: Pour charcoal into the chimney starter until it reaches the top. For most grills, this provides enough fuel for a complete cooking session.
- Prepare the fire starter: Crumple 2-3 sheets of newspaper and place them in the bottom chamber, or use natural fire starter cubes for more reliable ignition.
- Light from multiple points: Light the newspaper or cubes from several spots to ensure even ignition across the bottom.
- Wait for the magic: In 15-20 minutes, you’ll see flames licking through the top coals, followed by a light gray ash coating.
- Pour and arrange: Carefully pour the hot coals into your grill and arrange them according to your cooking method.
How to Light Charcoal Without a Chimney
Don’t have a chimney starter? These proven alternatives will get your coals burning reliably:
Method 1: The Pyramid Method
- Stack charcoal in a pyramid shape in the center of your grill
- Stuff newspaper or natural fire starters into gaps in the pyramid
- Light the paper from multiple sides
- Once coals are ashed over (20-25 minutes), spread them with tongs
Method 2: Fire Starter Cube Method
- Place 2-3 fire starter cubes on the charcoal grate
- Stack charcoal loosely around and over the cubes
- Light the cubes according to package instructions
- Wait for coals to ash over before cooking
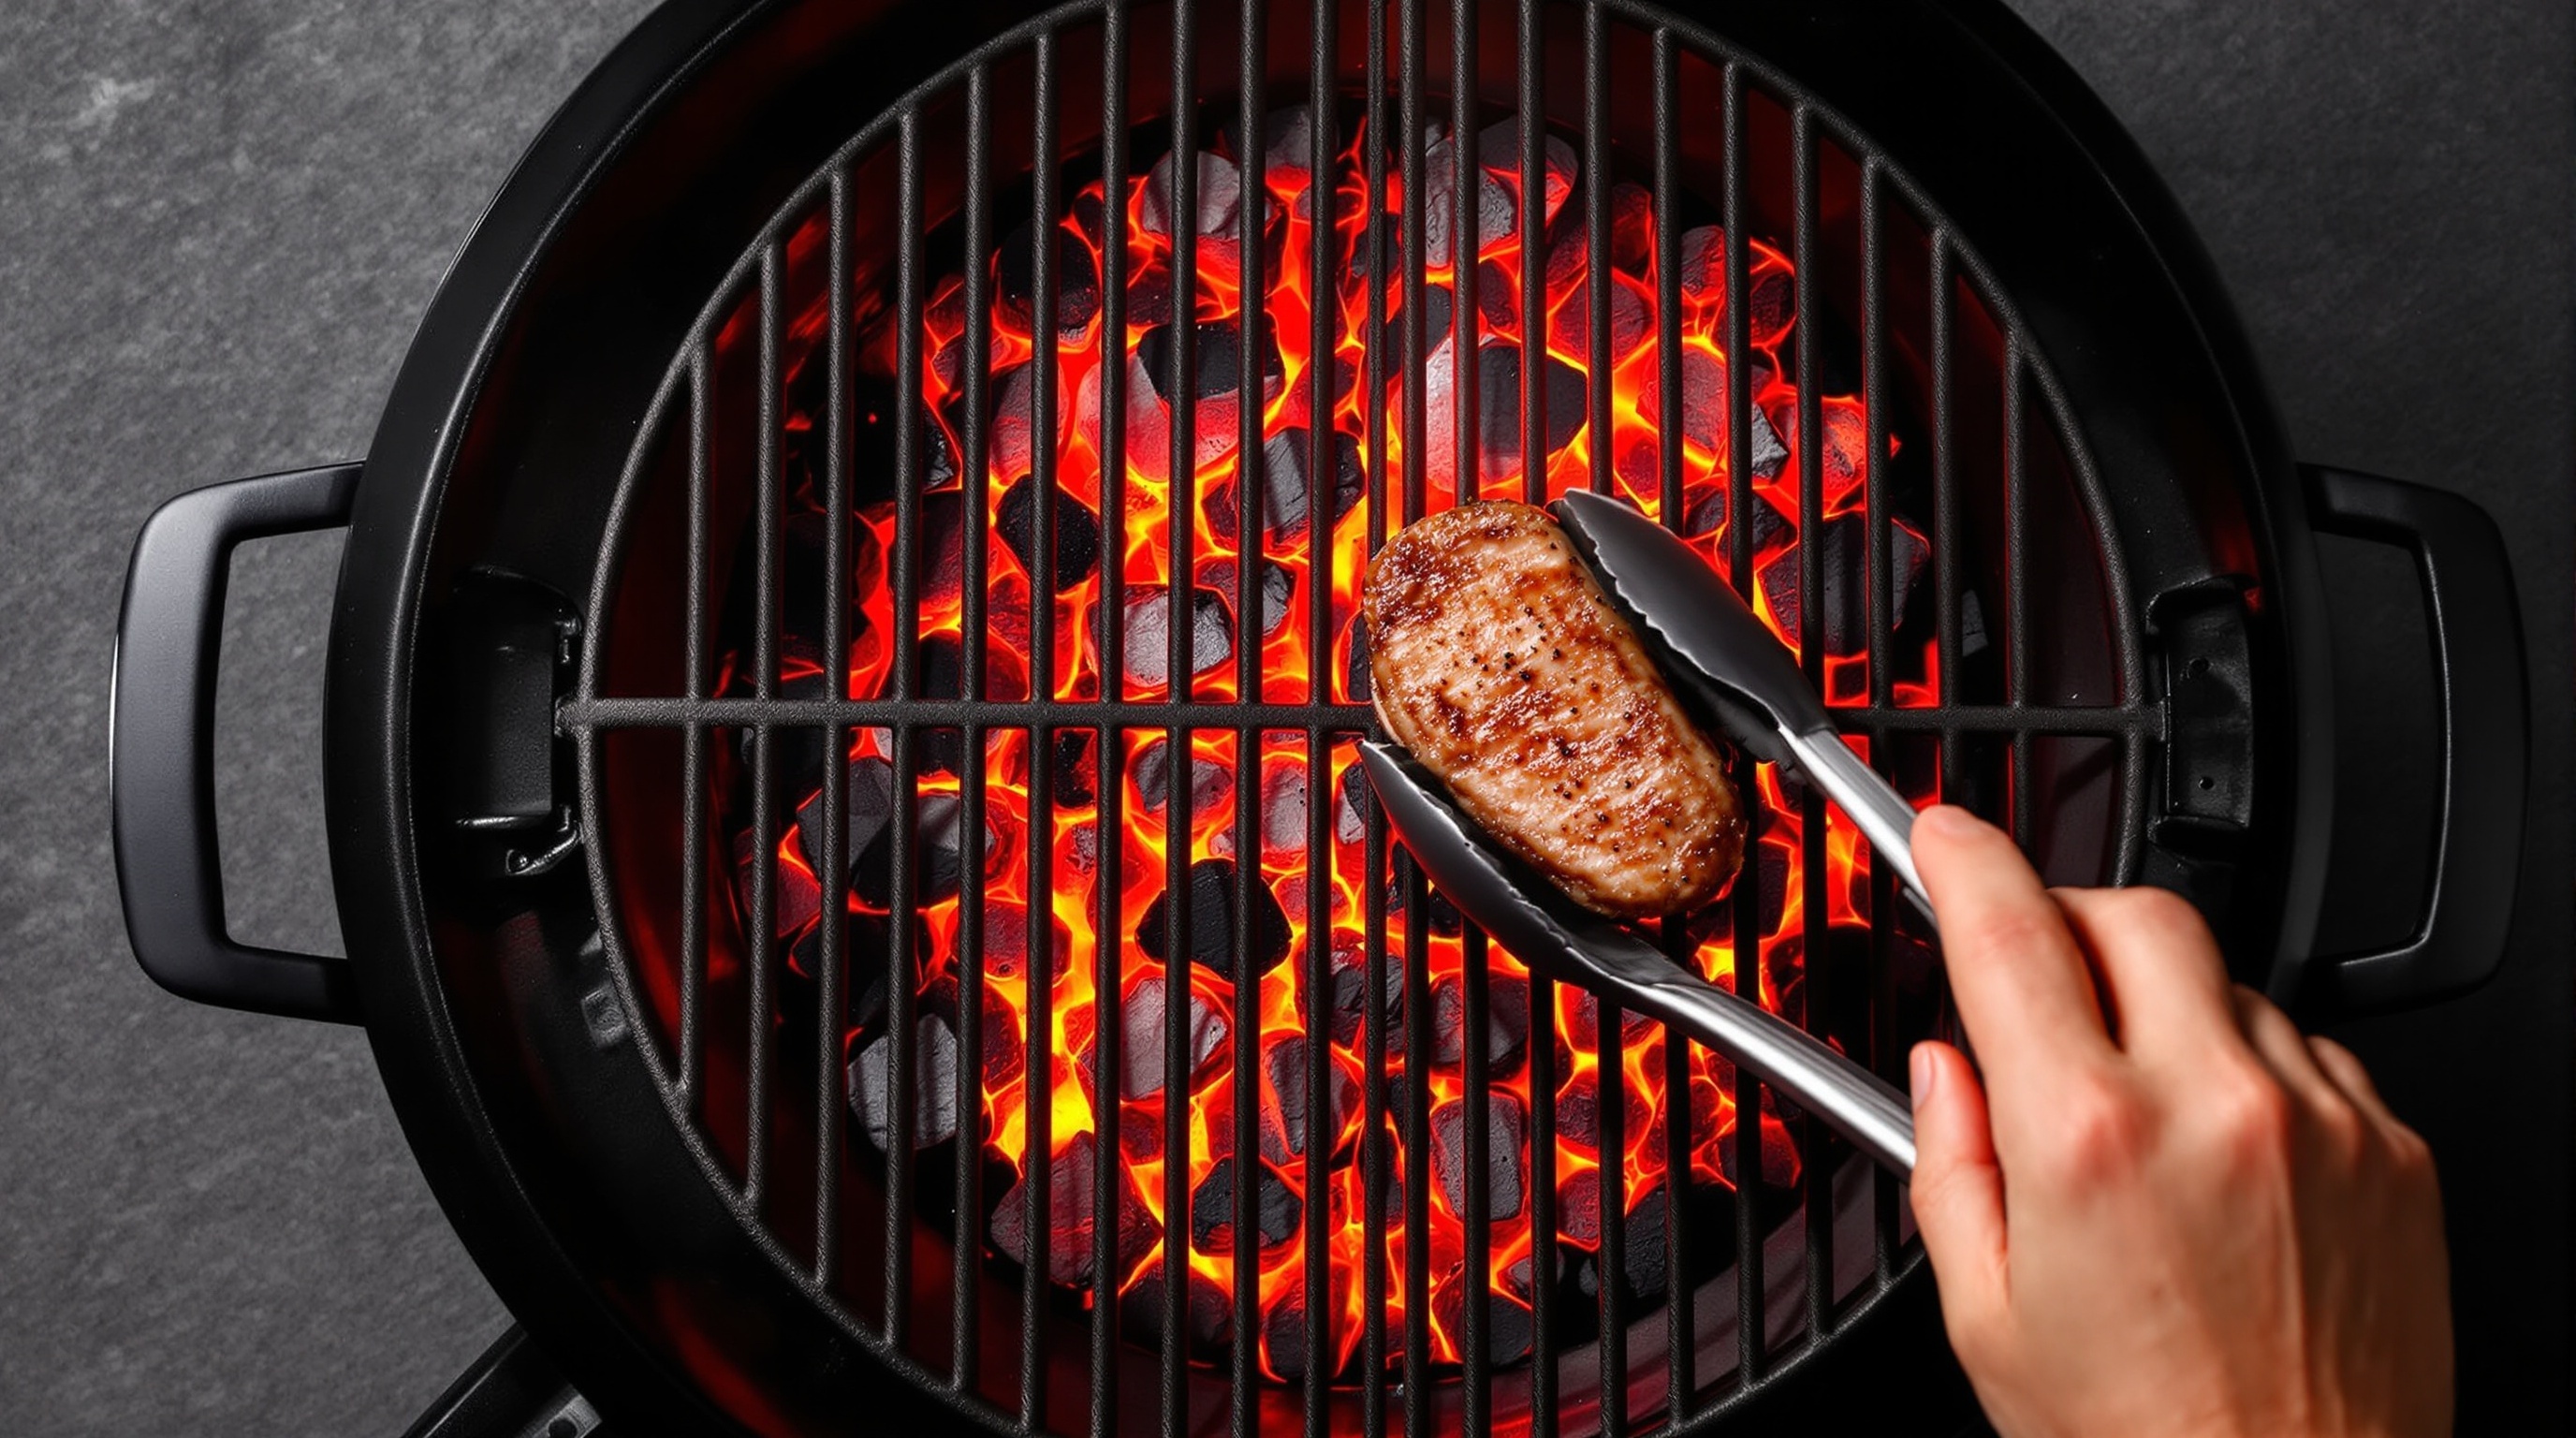
🔥 Critical Timing Tip: How Long to Let Charcoal Burn Before Cooking
The key visual cue is when your coals are covered with light gray ash but still glowing red underneath—typically 15-20 minutes after lighting. At this point, you can hold your hand 5 inches above the grate for only 2-3 seconds over the hot zone. This indicates your coals are at optimal cooking temperature and ready to deliver perfect results.
The Grill Master’s Secret: How to Set Up a Two-Zone Fire for Grilling
Here’s the technique that separates backyard heroes from frustrated beginners: learning how to set up a two-zone fire for grilling with charcoal. This simple arrangement gives you complete control over your cooking, preventing disasters and ensuring consistently perfect results.
What is a Two-Zone Fire? Simply put, it means arranging your hot coals on one side of the grill, creating a “hot zone” for searing and a “cool zone” for gentle cooking. This setup gives you a safety net—if food is cooking too fast or flare-ups occur, you can quickly move items to the cooler side.
How to Create Your Zones:
- After your coals are properly lit and ashed over, use tongs to push all coals to one side of the grill
- Create a slope with more coals banked higher against one wall
- Leave the opposite side completely empty of coals
- Replace the cooking grate and preheat for 2-3 minutes
Why This Works: The hot zone (directly over coals) reaches 450-500°F for searing and creating beautiful grill marks. The cool zone (away from coals) maintains 250-300°F for gentle finishing, preventing overcooking while ensuring food cooks through evenly.
Taming the Flames: How to Keep a Charcoal Grill at a Consistent Temperature
Think of your grill’s vents as the gas pedal and brakes of your charcoal fire. Mastering vent control is the key to maintaining consistent temperatures and achieving professional results every time you’re grilling with charcoal.
🌡️ Your Temperature Control Cheat Sheet
Bottom Vent (Intake): Controls oxygen flow to fuel the fire
- Fully Open: Maximum heat (450-500°F+)
- Half Open: Medium heat (350-400°F)
- Quarter Open: Low heat (250-300°F)
- Closed: Fire will slowly die out
Top Vent (Exhaust): Fine-tune temperature and control airflow
- Fully Open: Standard position for most cooking
- Half Closed: Reduce heat slightly while maintaining airflow
- Never Fully Close: While cooking—this can create dangerous backdraft
Quick Adjustments:
- To Raise Temperature: Open bottom vent wider, ensure top vent is open
- To Lower Temperature: Close bottom vent partially, never fully while cooking
- For Long Cooks: Start with vents half-open and adjust gradually
How to Add More Charcoal to a Grill While Cooking: For extended cooking sessions, you’ll need to add fresh fuel. Light new coals in a chimney starter while your food cooks, then carefully add the hot coals to the existing fire using tongs. This prevents temperature drops and maintains consistent heat throughout long cooks like ribs or brisket.
Troubleshooting Your Cook: A Griller’s Quick-Fix Guide
🔧 Common Problems and Instant Solutions
Problem: “Why does my charcoal burn out so fast?”
Solution: This usually indicates too much airflow or poor-quality charcoal. Check that your bottom vents aren’t wide open unless you need high heat. Also, ensure you’re using quality briquettes or lump charcoal—cheap charcoal burns fast and produces inconsistent heat. Keep the lid on during cooking to maintain heat efficiency.
Problem: “How to prevent flare-ups on a charcoal grill?”
Solution: Flare-ups happen when fat drips onto hot coals. Your two-zone fire setup is your best defense—move food to the cool zone when flares occur. Trim excess fat before grilling, avoid overly fatty marinades, and keep the lid nearby to cut off oxygen to flames. A spray bottle with water can also tame minor flares. For comprehensive grilling safety guidelines including proper grill placement and fire prevention, consult the National Fire Protection Association’s grilling safety resources.
Problem: “Why is my charcoal sparking?”
Solution: Sparking is usually caused by moisture in lump charcoal or natural wood properties—it’s generally harmless. Store charcoal in a dry place, and if sparking is excessive, it might indicate low-quality fuel. Switch to quality briquettes for more predictable burning.
Problem: Food burning on outside, raw inside
Solution: You’re cooking over too high heat. Move food to the cool zone and cover with the lid to create an oven effect. This gentle, indirect heat will cook food through without burning the exterior.
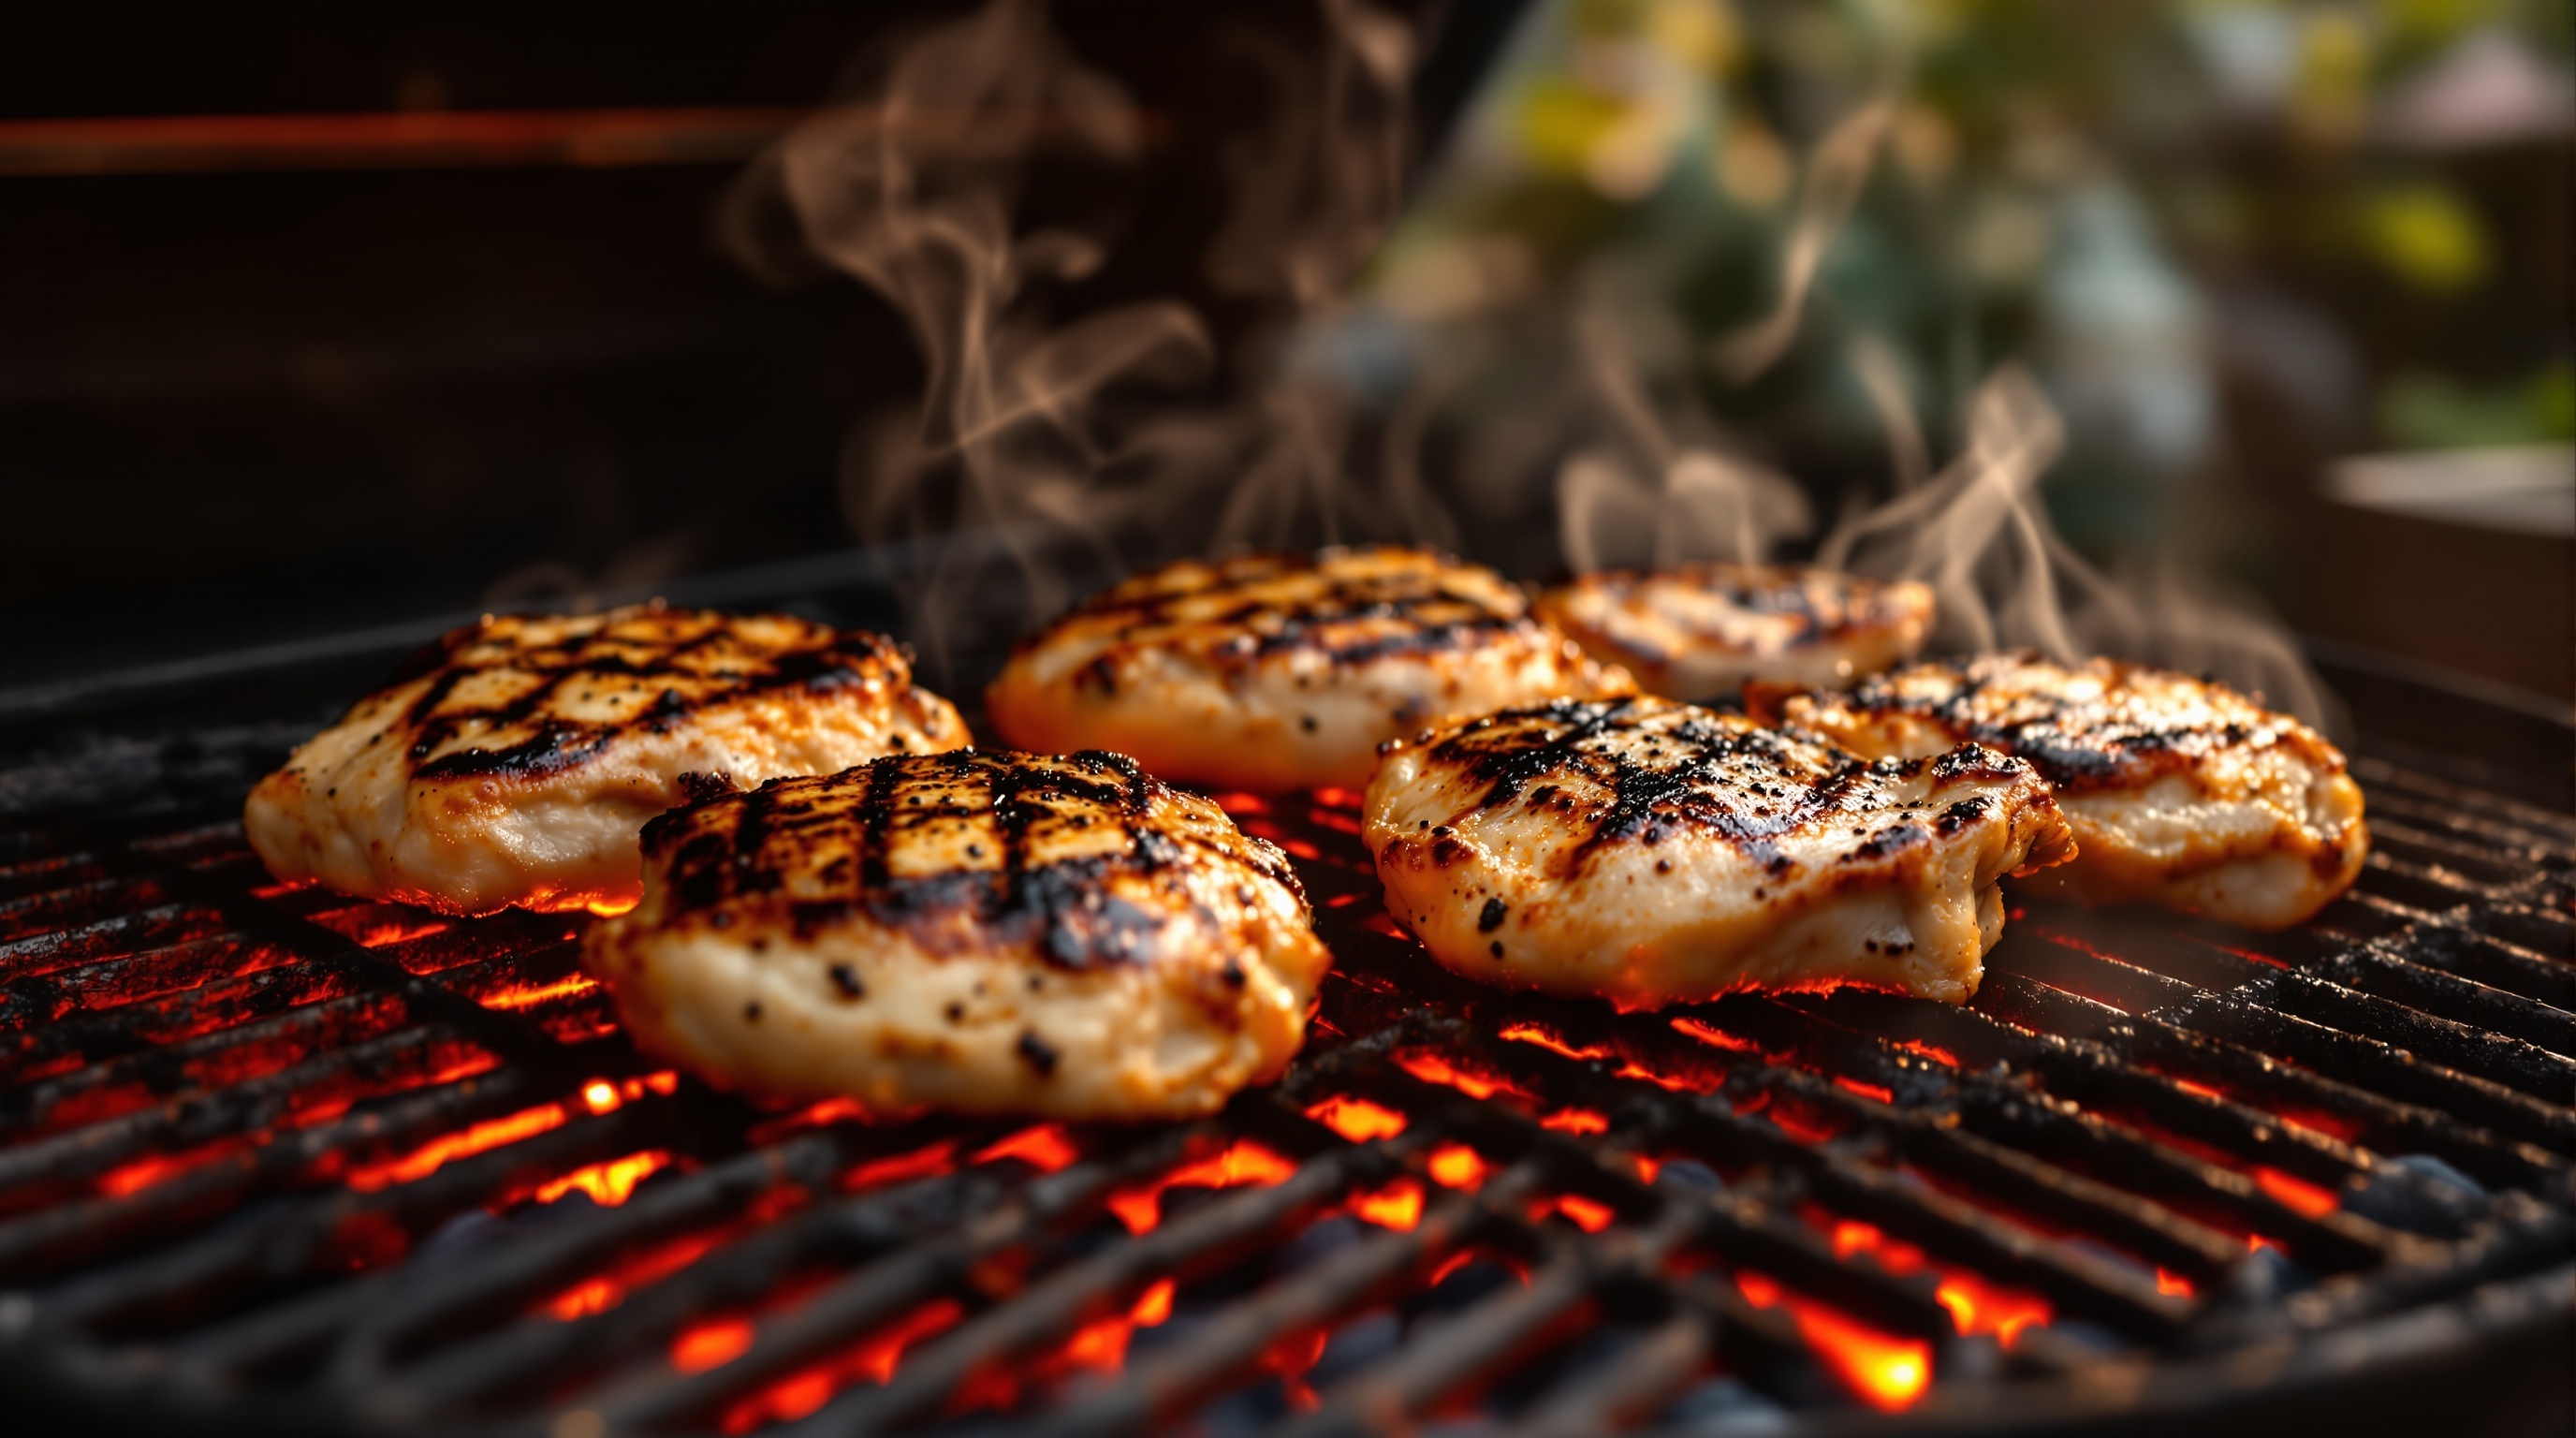
Your First Masterpiece: Best Charcoal Grilling Recipes for Chicken
🍗 Perfect Beginner’s Charcoal Grilled Chicken Thighs
Chicken thighs are the perfect starting point for novice grillers—they’re forgiving, flavorful, and nearly impossible to overcook. This recipe incorporates all the key techniques from our guide.
Ingredients (Serves 4):
- 8 bone-in, skin-on chicken thighs
- 2 tablespoons olive oil
- 2 teaspoons kosher salt
- 1 teaspoon black pepper
- 1 teaspoon garlic powder
- 1 teaspoon paprika
- 1/2 teaspoon onion powder
Instructions:
- Prep the chicken: Pat thighs dry with paper towels and brush with olive oil. Season generously with salt, pepper, garlic powder, paprika, and onion powder. Let sit at room temperature for 15 minutes.
- Set up your fire: Light your charcoal and set up a two-zone fire with all coals on one side. Target temperature: 400°F on the hot side.
- Sear for perfection: Place chicken thighs skin-side down over the hot zone. Sear for 3-4 minutes until skin is crispy and releases easily from grates.
- Flip and finish: Flip thighs and sear the other side for 2-3 minutes. Then move ALL pieces to the cool zone.
- Cook through gently: Cover with lid and cook for 15-20 minutes until internal temperature reaches 165°F. The cool zone prevents burning while ensuring thorough cooking. For complete food safety guidelines and proper handling techniques when grilling outdoors, refer to the FDA’s comprehensive guide to handling food safely while eating outdoors.
- Rest and serve: Let chicken rest for 5 minutes before serving to allow juices to redistribute.
Pro Tip: The skin should be golden brown and crispy, while the meat remains juicy. If skin isn’t crispy enough, return thighs to the hot zone for 1-2 minutes before resting.
Pro Tips for a Beginner Charcoal Griller
🎯 Essential Wisdom for Consistent Success
- Choose the right equipment: Before diving into techniques, ensure you have the right foundation. For beginners, we recommend starting with a reliable, user-friendly grill—check out our guide to the best charcoal grills for new grillers to find one that matches your budget and skill level.
- Invest in a reliable instant-read thermometer: Guessing doneness leads to overcooked or unsafe food. A quality thermometer eliminates uncertainty and builds confidence.
- Always cook with the lid on: Your grill lid creates convection heat that cooks food evenly. Lifting it frequently releases heat and extends cooking times unnecessarily.
- Don’t be afraid to move food around: Unlike gas grills, charcoal creates hot and cool spots. Moving food to different areas gives you complete control over cooking speed.
- Clean your grates while they’re hot: After preheating, scrub grates with a grill brush. Hot grates clean easier and won’t stick to food as much.
- Consider portable options: If you’re just starting out or have limited space, explore portable charcoal grilling options that offer convenience without sacrificing flavor.
- Start simple and build confidence: Master basic techniques with forgiving foods like chicken thighs and sausages before attempting delicate fish or expensive steaks.
- Keep a spray bottle handy: A light mist of water can calm flare-ups without dramatically cooling your coals like dumping water would.
- Practice the hand test: Hold your palm 5 inches above the grate. If you can only keep it there for 2-3 seconds, you have high heat; 4-5 seconds indicates medium heat.
Frequently Asked Questions
Lump charcoal provides a more intense, pure smoky flavor because it’s made from real wood with no additives. You’ll notice a cleaner, more natural taste that lets the food’s flavors shine through. Briquettes have a milder flavor due to binding agents and fillers, but they burn more consistently and are easier for beginners to manage. For most backyard grilling, the difference is subtle—your technique matters more than fuel choice.
Your charcoal is ready when the coals are covered with a light gray ash and glowing red underneath. This typically takes 15-20 minutes after lighting. You should be able to hold your hand 5 inches above the grate for only 2-3 seconds over the hot zone. The flames should have died down, leaving steady, even heat—this is when you’ll achieve the best searing and most consistent cooking results.
While lighter fluid is safe when used properly, it can impart a chemical taste to your food if not completely burned off. We strongly recommend using a chimney starter with newspaper or natural fire starter cubes instead. These methods produce cleaner-tasting results and are actually easier once you get the hang of them. If you must use lighter fluid, apply it only to cold charcoal, let it soak for a minute, then light immediately—never add more fluid to lit or hot coals.
After arranging your hot coals and replacing the cooking grate, preheat for 2-3 minutes with the lid closed. This allows the grates to heat up properly, which prevents sticking and creates better sear marks. You’ll know it’s ready when you can hear the sizzle immediately upon placing food on the grates.
For briquettes, Kingsford Original and Weber are reliable choices that burn consistently. For lump charcoal, Royal Oak, Big Green Egg, and Rockwood are excellent options. The key is choosing charcoal made from hardwood with minimal fillers. Avoid lighter fluid-infused charcoal as it can affect flavor. Whatever brand you choose, consistency in your fuel choice helps you predict cooking times and temperatures better.
The Final Word on Grilling with Charcoal
Mastering grilling with charcoal comes down to understanding three fundamental elements: quality fuel, proper fire management through two-zone setup, and temperature control via your vents. That moment you master these basics and hold a perfect temperature while searing restaurant-quality grill marks is a true rite of passage—one that connects you to generations of outdoor cooking tradition.
Remember, every grill master started exactly where you are now. The difference between anxiety and confidence isn’t talent—it’s understanding these proven techniques and having the patience to practice them. Each time you light your charcoal, you’re not just cooking food; you’re developing a skill that will bring joy to countless gatherings and create memories that last a lifetime. For those ready to explore advanced charcoal grilling methods and professional techniques, dive deeper into our complete guide on mastering charcoal grill techniques.
🔥 Ready to Become a Backyard Hero?
Start with our beginner-friendly chicken thigh recipe and share your results! Tag us on social media with your perfectly grilled creations. Remember: every expert was once a beginner, and every perfect meal started with lighting that first fire. Your charcoal grilling journey begins now.